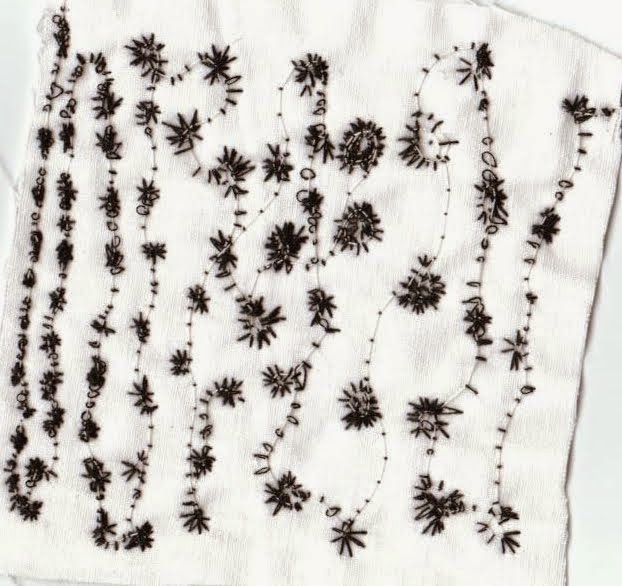
Chenille sample.
6.layers of fabrics were used in this sample however only the top layer frayed well. Note to self next time used more cotton rather than synthetics and silks.
Melting.
I had a quick go at this optional section of chapter 12.
Test 1.
Strips of fabric tested to see which melted best. I was surprised by the grey and dull blue strips as I thought all these fabrics would melt easily with the soldering iron. These two had marks indented into the rather than melting right through. Quite a good effect though.
Test 2.
A florist friend of mine gave me some florist paper,which looks very much like light weight lurador. I decided to see what would happen if I used the soldering iron on this.
Firstly I painted the material with watered down acrylics. In this test I put 2 squares of different colours together an go to work with the soldering iron, cutting ot shapes from one layer,burning holes right through and using the soldering iron to make marks the edges were cut out using the soldering iron in various ways. This material could be stitched into too.
Test 3
Playing around with more paper. The top. 2 pieces show the two colours I used. The second 2 are single pieces with one single shape cut using the soldering iron. I loved this material as it was easy to colour and worked well with the soldering iron too.
Translating a design using a soldering iron.
6 layer of sheers,painted florist paperand synthetic fabrics were used in this sample. The soldering iron was used to make marks and cut away various layers.


